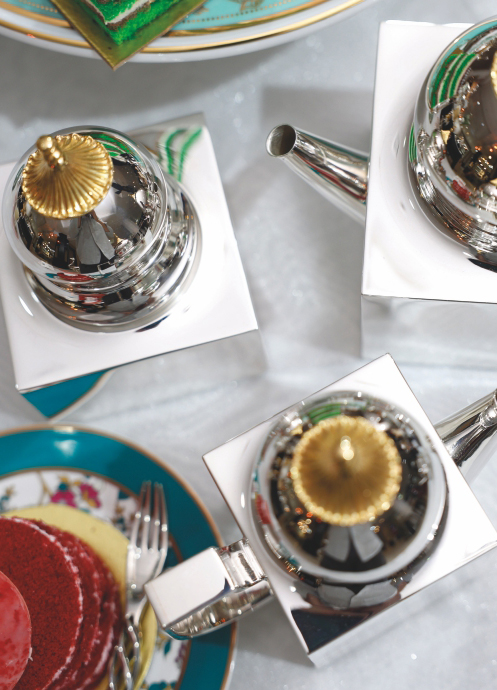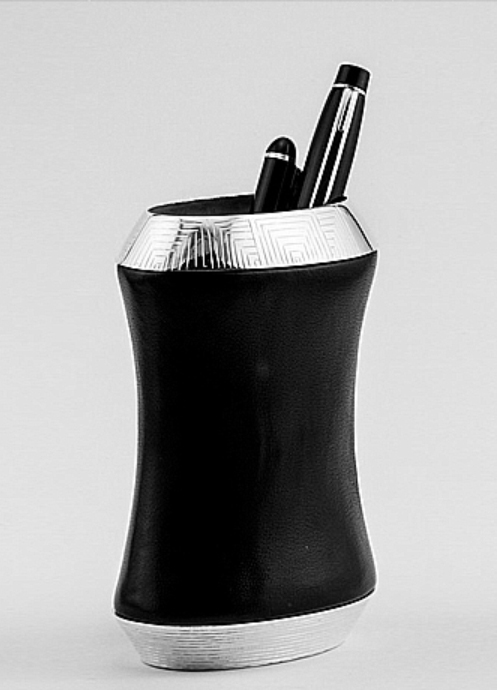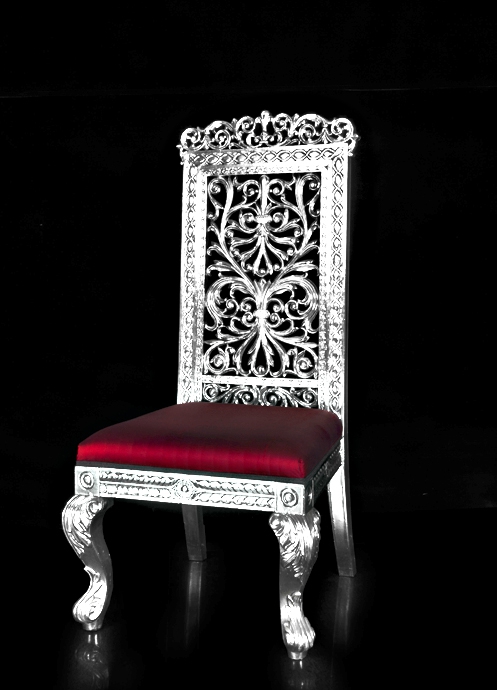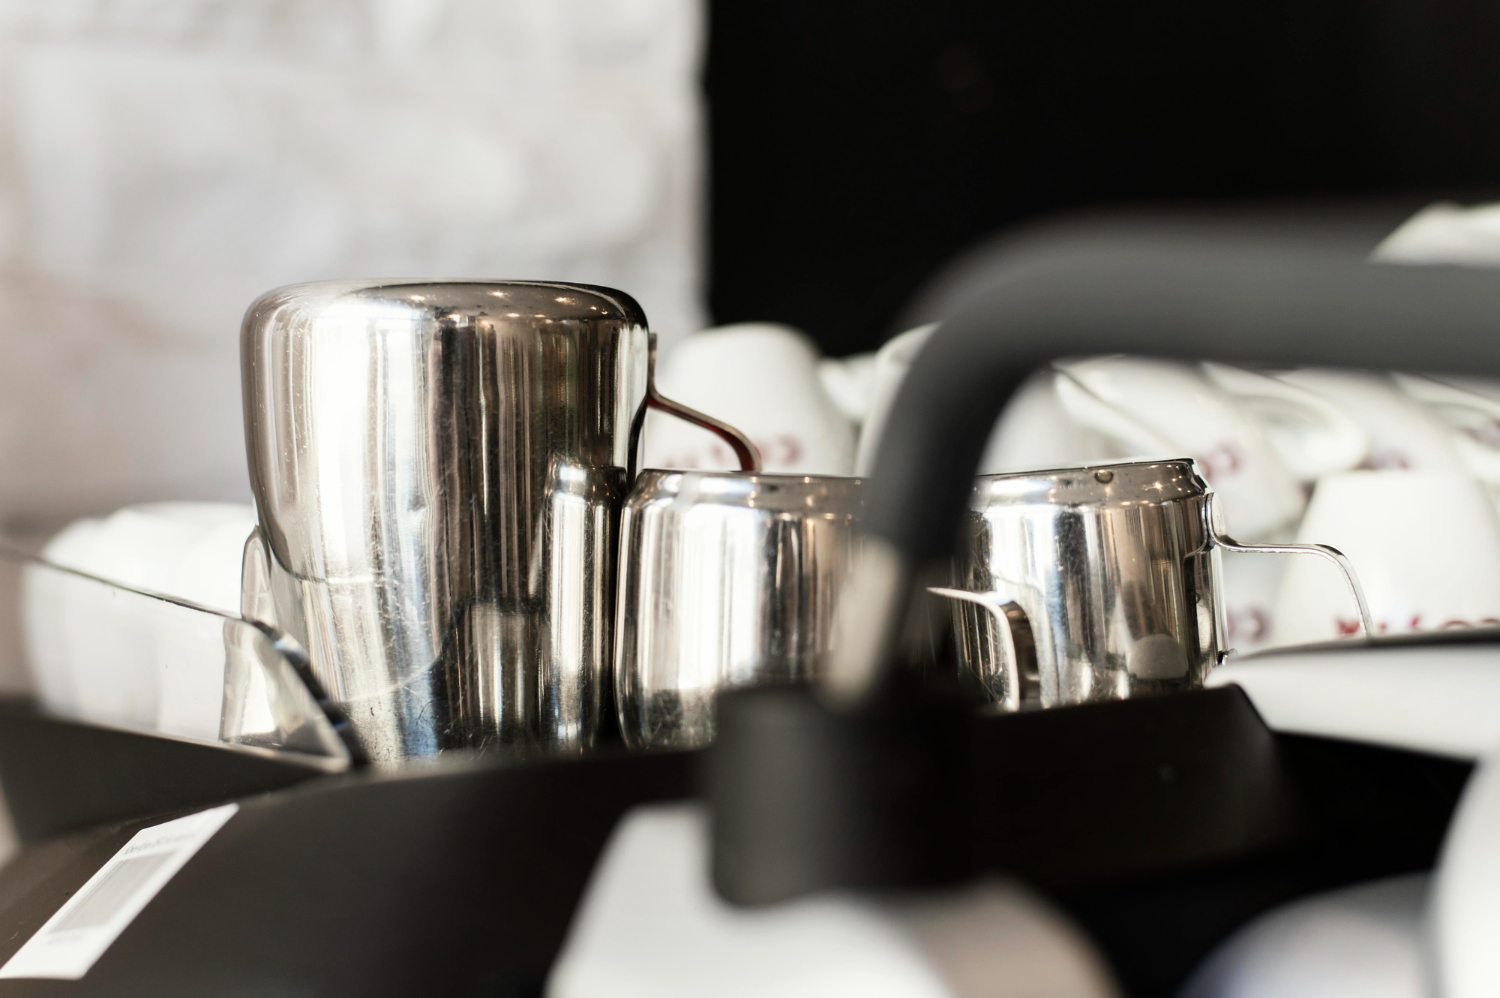
Imagine gathering around your dining table, each gleaming piece of silver catching the light silver tableware isn’t just utensils; it’s a statement of elegance, a family heirloom, and a timeless investment in your home’s luxury. But without proper silver tableware care tips, even the finest sterling silver can lose its luster, develop dark spots, or tarnish from exposure to humidity, acidic foods, and everyday handling.
In this ultimate silver care guide, you’ll learn how to clean silver tableware at home, remove tarnish from silverware, and how to polish silver at home with simple, at-home methods. Get ready to bring back that showroom shine and keep your silver pieces radiant for generations to come!
Before you begin:
Aluminum Foil: Lining your container with foil creates an electrolytic reaction that safely pulls tarnish off silver. It’s non-abrasive, simple, and effective—no scrubbing required—so even intricate patterns emerge bright without risk of scratches.
Baking Soda & Salt: These pantry staples act as gentle, fine-grain abrasives that lift oxidation without harming the metal. Combined in the electrolytic bath, they accelerate the tarnish removal process while preserving delicate engraving and surface detail.
White Vinegar (or Lemon Juice): A mild acid bath blends with baking soda to dissolve heavy tarnish. It penetrates crevices, softening dark spots so they rinse away easily—ideal for darkened or stubbornly oxidized areas before a foil soak.
Soft Cotton or Microfiber Cloths: After rinsing, immediate gentle drying prevents water spots and new tarnish. Microfiber and cotton trap moisture without lint, allowing you to buff silver to a streak-free, high-shine finish without scratching.
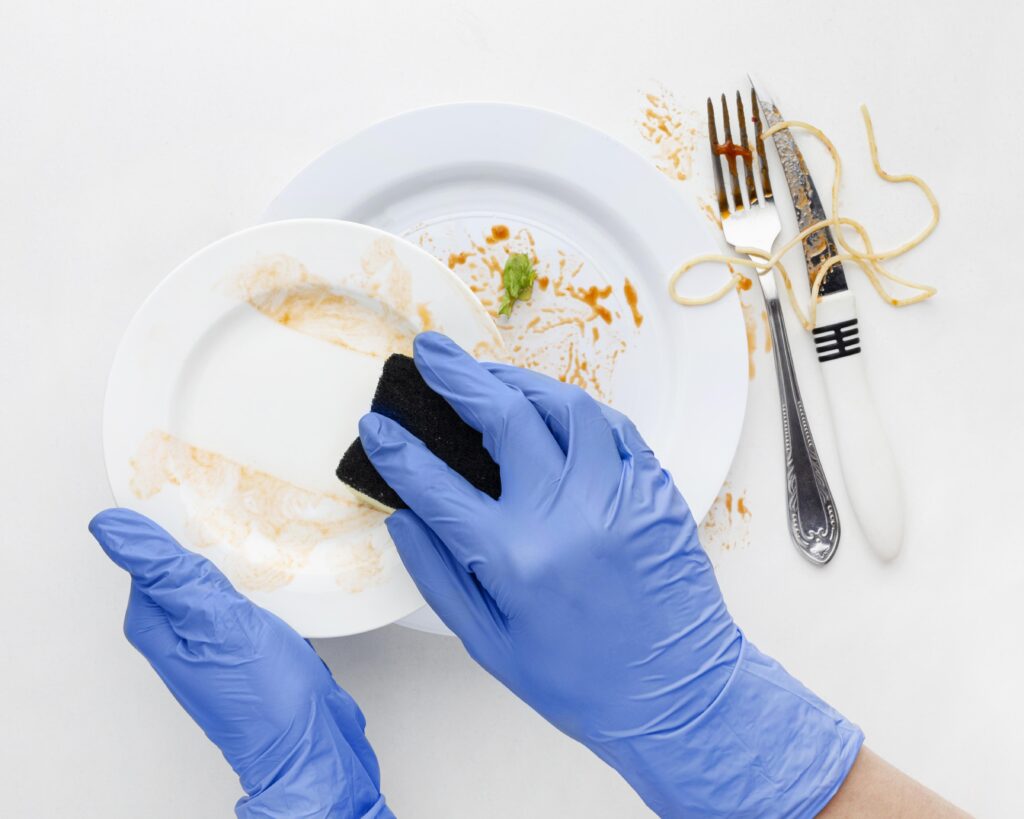
Mild Dish Soap: Grease, oils, and food residues can accelerate tarnish if left on silver. A drop of gentle detergent in your rinse water ensures all surface contaminants are lifted away, leaving a clean base for polishing.
Cream or Paste Silver Polish (optional): For a showroom-level finish, apply a small dab of polish in circular motions. These specially formulated creams remove fine scratches, refine the shine, and extend the time between deep cleans
Soft-Bristled Toothbrush: The gentle bristles easily access intricate grooves, chased patterns, and engraved details that cloths can’t reach. Light brushing lifts embedded tarnish and debris without scratching, ensuring every nook and cranny of your silver shines evenly.
For silver showing light to moderate tarnish, this simple at-home method safely restores shine using basic kitchen ingredients. With aluminum foil, baking soda, salt, and hot water, you can gently remove tarnish without harsh scrubbing or chemical polishes.
For heavily tarnished or blackened silver.
Vinegar Bath: Create a gentle acid solution by mixing ½ cup white vinegar and 2 Tbsp baking soda in warm water. The mild acidity breaks down tarnish layers without harsh chemicals, preparing your silver for deeper cleaning in crevices and engraved areas.
Soak Longer: Fully submerge your silverware for 15–20 minutes in the vinegar bath. Extended immersion gives the acid-soda reaction time to loosen stubborn oxidation, making thick tarnish easier to lift without excessive scrubbing or surface damage.
Agitate Gently: After soaking, use a soft-bristled toothbrush to lightly scrub detailed sections. The gentle bristles dislodge tarnish from engravings and molded patterns without scratching, ensuring intricate designs emerge clean and well-defined.
Foil-Boost (Optional): For pieces still showing dark spots, follow up with an aluminum-foil electrolytic bath. This second treatment uses foil, baking soda, and hot water to draw out any remaining tarnish, restoring a uniform shine across the metal.
Careful Rinse & Dry: Always rinse silver thoroughly with soapy water to remove acid residue. Immediately pat dry with a soft, lint-free cloth—this prevents water spots and new oxidation, preserving your piece’s bright finish until its next use.
Cream vs. Cloth-Impregnated Polishes: Cream polishes contain finely milled abrasives and lubricants, allowing precise control over pressure and shine—ideal for deep cleaning and scratch removal. Cloth-impregnated pads deliver a quick, mess-free buff, perfect for routine touch-ups between thorough polishes.
Work in Sections: Tackling small areas at a time ensures even coverage and prevents lingering polish residue. Apply cream or pad to one segment, buff it out fully, then move on—this systematic approach avoids streaks and guarantees a consistent, uniform finish across the entire piece.
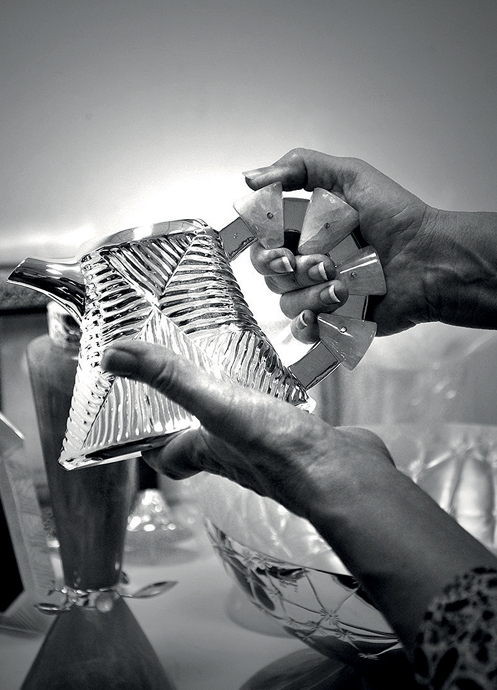
Crevice Care: Intricate patterns and embossed details trap tarnish and polish residue. Use a soft-bristled toothbrush or a folded cotton swab to gently work polish into grooves, then remove buildup this targeted method cleans hard-to-reach spots without over-abrading the surrounding smooth surfaces.
Final Buff: After all sections are polished, use a fresh, dry microfiber cloth to wipe away any remaining residue or fine dust. This last buff step enhances clarity, removes streaks, and brings out a mirror-like shine, ensuring your silver reflects light brilliantly.
Anti-Tarnish Bags or Cloths: Store your silver pieces inside specially treated pouches or wrapped in acid-free tissue to inhibit oxidation. These breathable materials are infused with tarnish-blocking agents, slowing chemical reactions so your heirloom pieces stay bright between uses.
Silica Gel Packs: Placing small desiccant packets in your silver’s storage boxes helps absorb excess moisture, a key driver of tarnish. By maintaining low humidity around your pieces, silica gel extends the time between cleanings and protects delicate finishes.
Avoid Rubber & Newspaper: Rubber and newsprint release sulfur compounds and acidic vapors that accelerate tarnishing. Always opt for inert, acid-free materials—like anti-tarnish cloths or archival wraps—to ensure your silver remains pristine, not pockmarked by harmful off-gassing.
Cleaning Frequency –
Daily-Use Pieces: For items you reach for every day, a gentle wipe with a soft, dry cloth after each meal removes surface oils and residues. This simple step prevents build-up and keeps your Ravissant Dinner Service gleaming with minimal effort.
Cleaning Frequency –
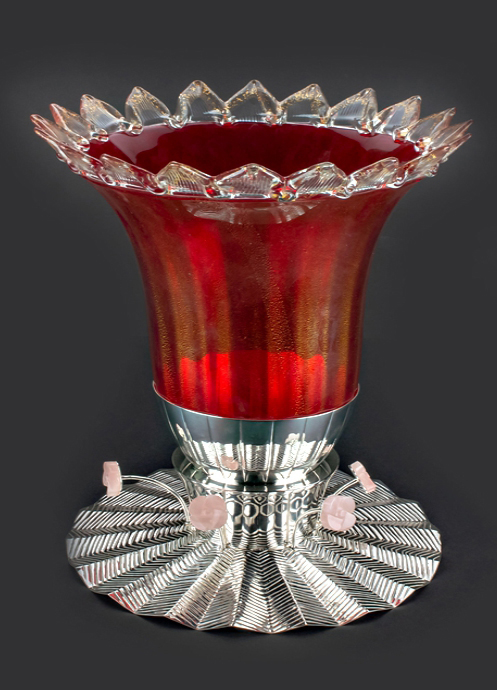
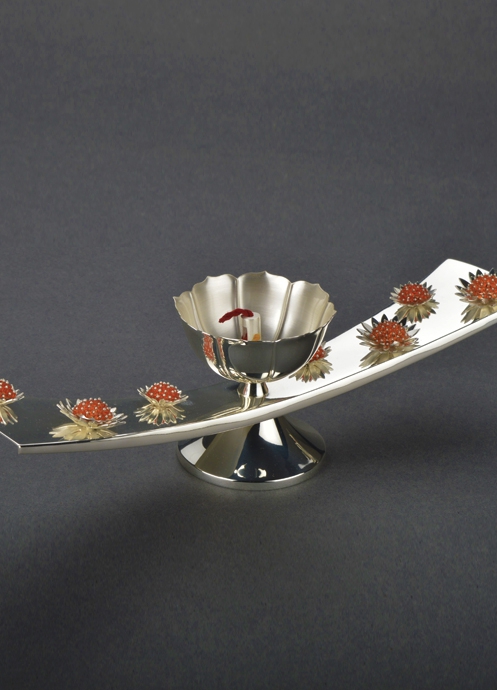
Display or Special-Occasion Ware: Silver on display or reserved for entertaining benefits from a thorough clean every three to six months. Follow your full care routine—soak, polish, buff—to ensure even rarely used Ravissant Trays & Platters look as vibrant as the day you first acquired them.
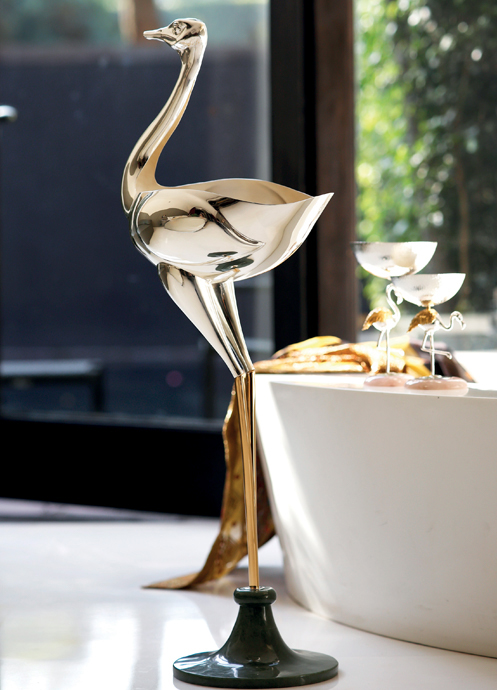
Did You Know? Silver naturally develops a “patina” over time—many connoisseurs cherish this aged look. To preserve selective patina, artisans at Ravissant gently clean only high-contact areas, leaving healed patina in recesses for character and depth.
Caring for silver tableware at home becomes truly rewarding once you master these time-tested techniques gentle soaks to lift away tarnish, meticulous polishing to restore each glint of light, and smart storage practices that protect against future dulling. By incorporating these simple steps into your routine, you’ll keep every spoon, fork, and serving piece gleaming like the day it was crafted. Whether you’re lovingly reviving a cherished family heirloom or proudly displaying a custom, bespoke set,
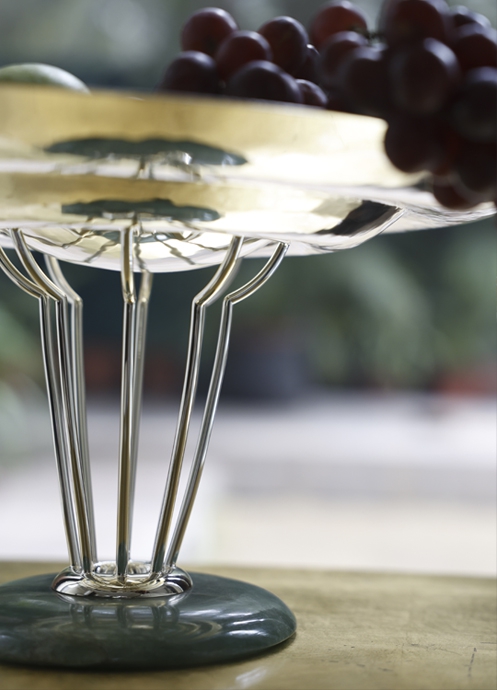
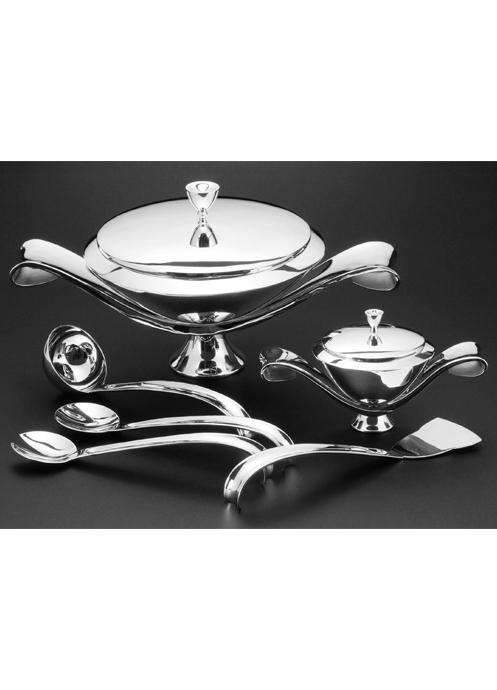
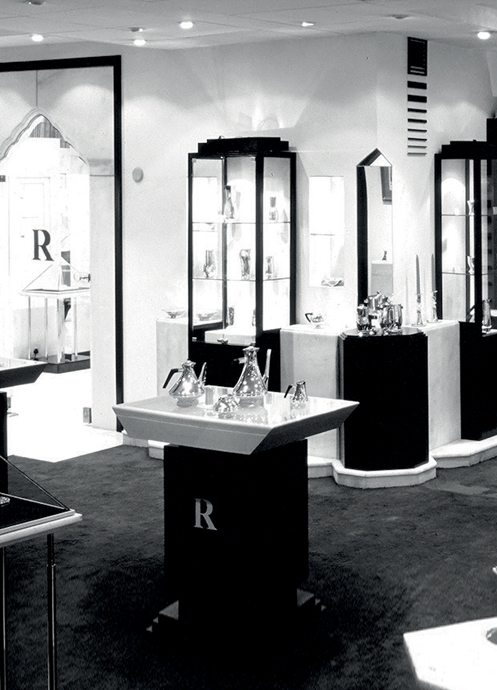
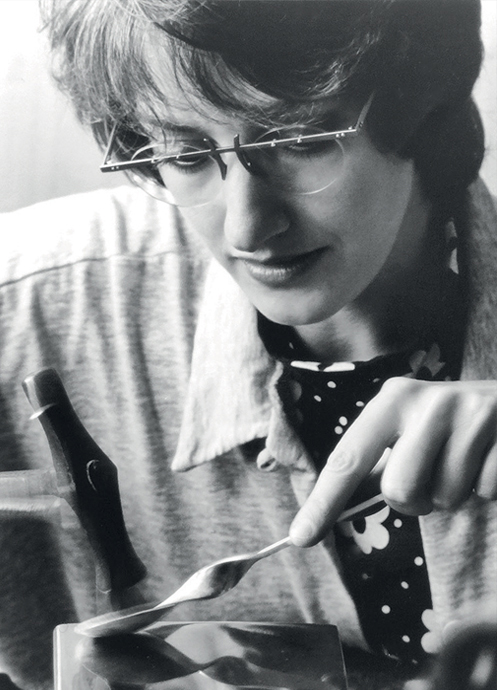
Ravissant’s meticulously designed collections bring together centuries of artisanal heritage and modern luxury. From our handcrafted sterling-silver dinner services to our intricately detailed trays and platters, each Ravissant piece is engineered for lasting beauty—and with the care methods you’ve learned here, they’ll remain dazzling centerpieces on your table for generations to come.